I was recently involved in a collaborative paper writing effort, and the people involved chose to use Overleaf as the main writing platform. Overleaf and ShareLaTeX, now under one roof, are the major online text editors for LaTeX files.
The idea behind Overleaf is great - it’s like Google Docs for LaTeX documents. The problem is I’m not crazy about doing my writing on a web app - just a personal preference. I find that the text editor + compiler combo is a much preferred setup.
In order to keep working as I would otherwise, and still comply with the team policy of consolidating everyone’s work on Overleaf, this is the setup I’ve used and that worked quite well:
Things you’ll need
- Read/write access to the Overleaf project you are working on;
- Git, for source control;
- A text editor - I use Sublime Text 3;
- A LaTeX compiler - on a Mac, I use the MacTeX distribution package;
For added convenience, I also use the LaTeXTools package for Sublime, which allows compiling the files directly from the editor, and syncing with the Skim PDF Reader.
How to set it up
I find it easier to have the project going on Overleaf first, instead of uploading something you have locally. Even if what you start with is an empty LaTeX project. It’s just easier to pull what is on Overleaf to avoid repository conflicts.
First, for read/write access to your Overleaf project, log into your Overleaf dashboard, and enter the project you want to work on, assuming it exists. Then, under Share, copy the url under Clone With Git.
In your local terminal, or using a Git GUI, choose a directory to clone the project into, and then:
git clone https://git.overleaf.com/{your-project-id} my-latex-project
Replace my-latex-project with a sensible name. This argument is optional, but the default will be to use the project’s id as the folder name, which isn’t great.
If you cd into the newly created directory and run
git remote -v
you’ll notice the default name for the remote is origin, as is usually the case with git. I prefer to call it overleaf, just so it’s clear:
git remote rename origin overleaf
Besides, it’s easier to tell which remote is which when I add a new, private Github remote repo, for my own control.
Workflow
The easiest way to make this setup work without major conflicts is to commit and push often. Once you’re happy with your local changes, commit it locally. Then, before pushing with git push overleaf, make sure you pull any changes your other team mates might have created. So before every push, it’s safer to:
git pull overleaf
This is particularly true for Overleaf git repos since it does not allow any forced pushes. Whenever there are changes online that are not reflected locally yet, it won’t let you push.
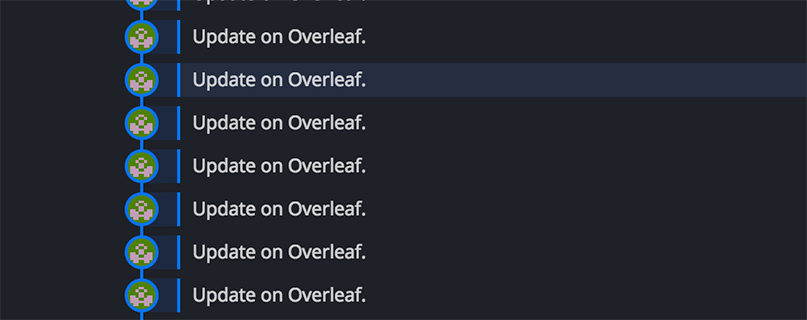
This is one of the main caveats, by the way. Every single change on Overleaf - sometimes even a change in cursor position - will create a new commit on Overleaf’s side. This means your git log will get polluted quite quickly.

As long as the commit-pull-push cycles are done often enough, merges should be easy to handle.
Interested in more Git resources? Check out the latest Git courses on Pluralsight.